What is custom application development?
Apps that are “custom” are created to specifically address the needs of your organization’s business. Custom apps are created and developed by either you or a third-party developer. With the help of apple business essential, custom apps are safely and securely supplied to your organization’s members. Developers use the app store connect to submit custom apps. They are further assigned to you through the apple business essential account. After the approval of your apps, only your organization can access them, which allows you to use and view them in the app’s sidebar. Now, you can create and develop your custom apps more easily.
Custom apps permit you to utilize the scope and useability of the app store while also offering:
- A customized appearance: such as branding and logo of your organization
- Security measures for private and sensitive company data
- Specific capabilities for a workflow or business operation
- Special features for users inside your organization
- Customized features, especially for: customers, franchisees, dealers, and partners
Why it’s important to create a custom business application?
Custom application development has the authority to meet your organization’s exact requirements. And it has the functionality to fulfill the needs of your application. Business developers select such features that meet their requirements. Thus, enhancing the agility and customer-centricity of their organizations. Also, custom apps benefit you in several ways,
- It reduced development time and cost
- It grows the scalability of your custom business applications
- Easy, fast & technical reliable support
- Deployment that is simple and seamless
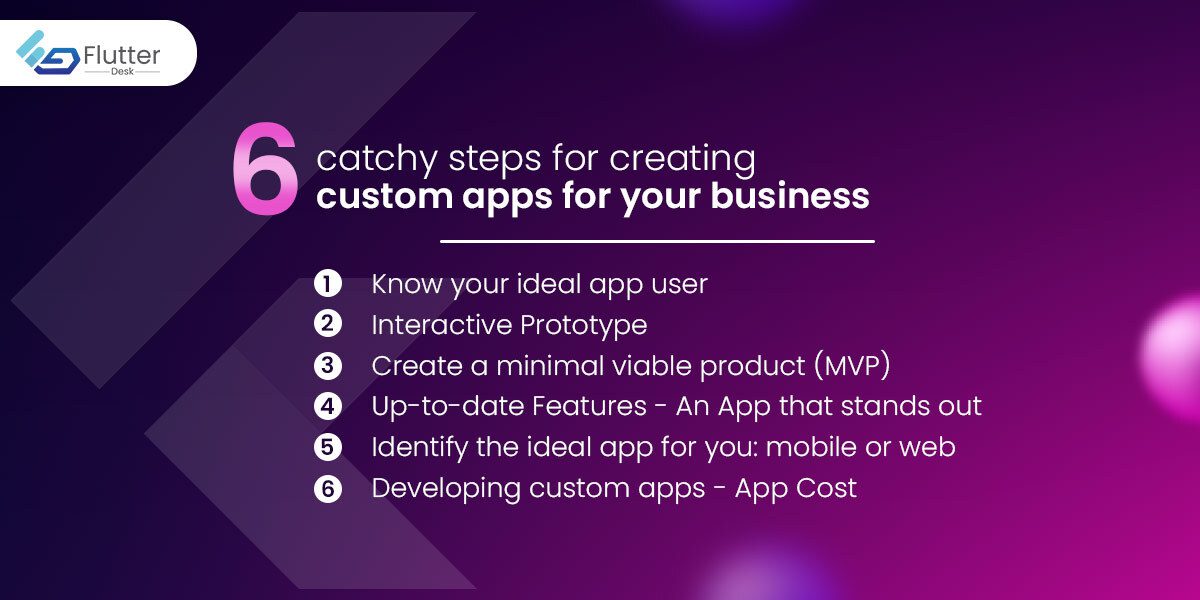
6 catchy steps for creating custom apps for your business
Are you going to develop your custom app? Then, wait a little bit. Before you create and develop your custom apps for your business. Understanding the requirements of the users for whom you’re creating the app is necessary. Here’re some steps you need to know before creating your custom app,
1- Know your ideal app user
Knowing about your ideal app user is very challenging. To know exactly who your ideal app users are, do the following activity. Create the individual personas list, which helps you decide who your target users are, their needs, and how much time they will use the app. By adopting this strategy, you will better know your app users and what functionality or functions they need.
2- Interactive Prototype
After knowing who is your custom app users and what kind of functionality they need, then you’ll be able to test the interactive prototype. The rapid application development strategy is an excellent way to let customers provide frequent, concise input instead of waiting for long-term planning while simultaneously allowing you to make changes as you go. It helps you a lot; additionally, before starting the new phase of your application, test those features and confirm the user experience.
3- Create a minimal viable product (MVP)
Once you have created your successful prototype, you can create a minimal viable product (MVP) and make your custom app available worldwide. From here, you can get feedback from real-life experienced application users, not just your team members. You may maintain compliance and maintain your personal privacy by providing your user with the most important updates through continuous delivery, the newest compatible technology, and encryption that protects their data. By doing so, you’ll be on top.
4- Up-to-date Features – An App that stands out
If you want to stay on the higher priority, you need to build an up-to-date custom app that follows all the current features. You can’t stay on top if you don’t stay connected with the latest features. To minimize errors and hasten the quality assurance process, ensure that you interact with third-party apps, have all the new features updated on all operating systems, and stay up-to-date on login functionality.
5- Identify the ideal app for you: mobile or web
The widespread notion is that web and mobile apps may be used interchangeably. Knowing the type of app, you’re creating will have a big impact on everything from design to user experience (UX), deployment, and the app creation software to utilize. Mobile applications are limited to your phone and are platform-specific, but they are speedier, can work offline, and have access to internal resources like GPS, images, and contacts. On the other hand, web applications function similarly to any internet browser: You don’t need to download or install them on your computer to function, and they almost exactly match the functionality of mobile devices.
6- Developing custom apps – App Cost
In this last phase of the custom app, test all your phases identically and the new features you added so that you have complete how to know about the app’s cost. Each phase contains a price point, so make sure you’re not putting your extra effort while creating the app because you can’t charge with extra pay, create the app according to user requirements so that your efforts are fair enough.
Flutter: Create your First custom App
To create your first attractive flutter-based custom app, you must follow the steps listed below. But before that, you need to install and run android studio version 3.0+.
1- Get Android Studio Installed
To run smoothly, the flutter developers use an Android Studio, which provides an integrated IDE. But IDEs give you tools like syntax highlighting, code completion, and debuggers, which are useful while developing software. Furthermore, you can use any text editor to take the experience with flutter SDK. As we are developing applications for mobile, experts suggest using Android studio for better performance.
2- Plugins: Flutter and Dart
Install the plugins of Flutter and Dart for creating and running the new project. You can create an app on your own or get help from an expert web developer.
- Run the android studio.
- Now, open the plugin references (if you’re using macOS, then click on preferences and then plugin, and if you’re using Linux or windows, click on files>settings> plugins)
- Now click on configures>plugins.
- Look through the Flutter plugin repository and choose install.
- Click on the yes option when given a permit to install the Dart plugin.
- When prompted, select restart.
Now you’re ready to create your first custom app on Flutter. You can type this command to start your new project File>new> new flutter project.
3- Create a Flutter Project
To create a new flutter project, follow the steps below,
- Choose “flutter application” first, then click “start a new flutter project/Android Studio.”
- After selecting the Flutter Application, you will be prompted to enter the Flutter SDK path and some basic project information on the following screen.
- Finally, set a unique domain name for the packages you install. If you don’t have a domain name, set it from the com. GitHub. Your login. Set other options to default. Congratulation! Now you created your first project.
4- Beginning the Flutter App’s coding
Just open the terminal and run the flutter doctor command to ensure that your app’s environment is properly working. You must have at least usable Flutter, one functional IDE, and a connected device for it to operate successfully. You can test it’s working either on android or iOS.
- Android Beta Testing
If you are using the device, make sure it is connected to a USB and enable USB debugging. If you are using the android emulator, create a virtual device. Ignore the default setting for now. Run the app by selecting the emulator or device you want, pressing shift + F10, and running the hot reload button.
- iOS App Testing
You must first select a device from the dropdown menu when testing an app on the iOS Simulator. Remember that the XCode installer will ask you to install any missing app components. However, testing can be a little challenging when using a real iOS device. You must launch the iOS module in XCode when the device is connected to a computer via a USB cable and unlocked.
Remember that Flutter apps provided using Personal Team provisioning profiles cannot be executed on iOS devices while testing your app on them.
Apple imposed this restriction. You can start the app from the home screen once the profile has been trusted. Hiring a flutter app developer with the necessary experience and understanding makes sense because iOS device testing is fairly hard.
5- Utilize an outside package
As you already created the project with a specific name, you can start coding. Some of the developers edit the Dart file by clicking on lib/main. Dart. You can also edit, delete or recreate this file. Second, depending on your devices, run the app by following the instructions in step 4 and using the recommended Android or iOS IDEs.
6- Utilize External Package
You should start utilizing an open-source program called English words to keep your task organized and straightforward. Use common English words that are also functional as much as possible. Android Studio will begin suggesting libraries to import as soon as you begin typing. The import string is then rendered in grey to serve as a reminder that the imported library has not yet been stored. Then, if the app is already open, you can utilize the hot reload function to update it with the modifications you requested.
7- Include a Stateful Widget in your app
Every component of a flutter app is a widget, which is a standalone program. Widgets contain two types stateless and stateful.
- Stateless Widget
Since stateless widgets are immutable, no changes can be made to their properties, and all values will remain fixed.
- Stateful Widget
On the other hand, stateful widgets keep track of states that may change throughout the widget’s existence.
So, when you start implementing stateful widgets to your app, it needs two classes
- An instance of the stateful widget class
- A state classes
The StatefulWidget class itself is immutable, disposable, and regenerable. However, the State class lives on after the widget is destroyed. Finally, restart the program for it to resume its previous behavior and display a word pairing whenever you save or hot reload it.
Must Read – Conditional Widgets in a flutter
8- Scrolling List View
Here, please make a list of the most often used words and give users the option to drag the words they liked best onto the new screen to add functionality. In essence, the condition class contains the entire logic.
Final Thoughts
Custom apps build according to users’ requirements so many users can use the app. User requirement is considered the priority to gain more engagement of users. Secondly, Up-to-date features are also very important for apps for more user app reach. Now, in this blog, you will learn how to generate a custom app for your business in Flutter and the important points you need to know in advance. You can hire Flutter developers to easily create and develop user-friendly apps in a short amount of time.