Flutter, developed by Google, has transformed the way developers approach cross-platform app development. By leveraging a single codebase, Flutter allows you to build Android, iOS, web, and even desktop applications. Among the many tools available for Flutter development, Android Studio stands out as a popular choice for its robust integrated development environment (IDE) and extensive plugin support.
In this guide, we’ll walk you through everything you need to know about setting up Flutter in Android Studio, creating projects, running applications, and optimizing your workflow.
Why Choose Android Studio for Flutter Development?
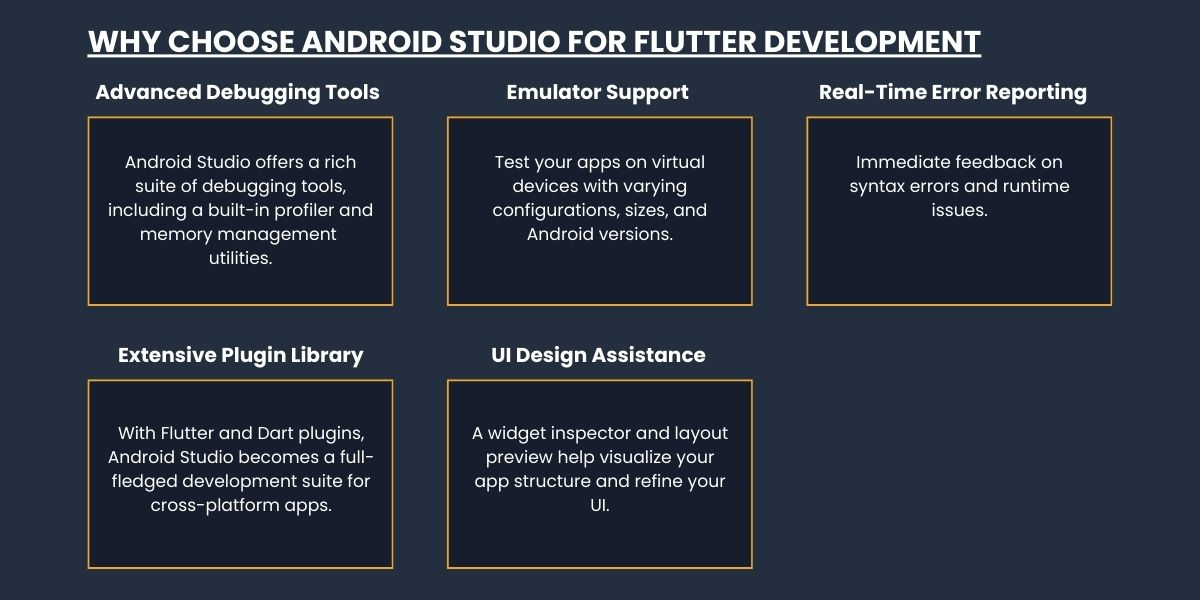
Android Studio is Google’s official IDE for Android development, and it integrates seamlessly with Flutter. Here’s why it’s a top choice for developers:
- Advanced Debugging Tools: Android Studio offers a rich suite of debugging tools, including a built-in profiler and memory management utilities.
- Emulator Support: Test your apps on virtual devices with varying configurations, sizes, and Android versions.
- Real-Time Error Reporting: Immediate feedback on syntax errors and runtime issues.
- Extensive Plugin Library: With Flutter and Dart plugins, Android Studio becomes a full-fledged development suite for cross-platform apps.
- UI Design Assistance: A widget inspector and layout preview help visualize your app structure and refine your UI.
Getting Started: Installing Flutter in Android Studio
1. Installing Android Studio
If you haven’t already, download and install the latest version of Android Studio. Ensure that you’re using version 3.0 or later for Flutter compatibility.
2. Adding Flutter and Dart Plugins
To enable Flutter development, you need to install the Flutter and Dart plugins in Android Studio. Follow these steps:
- Launch Android Studio.
- Navigate to File > Settings > Plugins (or Preferences > Plugins on macOS).
- Search for “Flutter” in the marketplace.
- Click Install next to the Flutter plugin.
- When prompted, confirm the installation of the Dart plugin.
- Restart Android Studio to apply the changes.
Setting Up Your Flutter Project in Android Studio
1. Creating a New Flutter Project
- Open Android Studio and select New Flutter Project from the welcome screen.
- Choose Flutter Application as the project type and click Next.
- Fill in the required fields:
- Project Name: Use lowercase letters with underscores (e.g., my_flutter_app).
- Flutter SDK Path: Point to the directory where you installed Flutter.
- Project Location: Choose a directory on your system.
- Description: Add a brief description of your project.
2. Configuring the Package Name
- Enter your company’s domain name or use the default.
- Ensure the package name is unique, as it will represent your app on app stores.
3. Finalizing the Setup
- Click Finish and let Android Studio generate the project files.
- Once the project is created, the IDE will sync the necessary dependencies.
Running Your First Flutter Application
- Open your project in Android Studio.
- Connect a physical Android device or configure a virtual device using AVD Manager.
- Locate the main toolbar and select your target device.
- Click the green Run button (a play icon).
- Android Studio will build and deploy the app on your chosen device.
Optimizing Flutter Development in Android Studio
1. Use Hot Reload
Flutter’s Hot Reload feature is a game-changer. It allows you to see UI changes instantly without restarting the app. Use this feature frequently during development to save time.
2. Leverage the Widget Inspector
The Widget Inspector provides a visual representation of your app’s widget tree. Access it via View > Tool Windows > Flutter Inspector to debug and fine-tune your UI.
3. Enable Version Control
Integrate your project with Git to track changes, collaborate with teammates, and roll back issues. Use the built-in version control tools in Android Studio.
4. Install Useful Plugins
Enhance your productivity with plugins like:
- Material Theme UI: Customizes the IDE interface.
- Flutter Intl: Helps manage localization files.
- CodeGlance: Displays a minimap of your code.
Advanced Tips for Flutter Development
- Performance Profiling: Use Android Studio’s Profiler to monitor your app’s performance and memory usage. Optimize animations and identify bottlenecks.
- Linting and Formatting: Configure Dart analysis for consistent code styling.
- Testing Frameworks: Write and run unit tests, widget tests, and integration tests directly within the IDE.
- Command-Line Integration: Use the terminal for Flutter CLI commands like flutter run, flutter build, and flutter test.
FAQs
Can I Develop Flutter Apps Without Android Studio?
Yes, Flutter apps can be developed using other IDEs like VS Code or IntelliJ IDEA. However, Android Studio is preferred for its rich feature set and debugging tools.
Is Flutter Good for Android App Development?
Absolutely! Flutter provides a high-performance framework with native-like UI and functionality. It’s an excellent choice for building Android apps.
How Do I Create a Flutter Plugin in Android Studio?
You can create plugins by selecting New Flutter Project > Flutter Plugin. Follow the prompts to define the plugin’s functionality and target platforms.
Conclusion
Flutter, combined with Android Studio, empowers developers to create dynamic, cross-platform apps with unparalleled efficiency. Whether you’re a beginner or an experienced developer, this guide equips you with the tools and knowledge to get started and excel in Flutter development. So, dive in and start building your dream apps today!
For any questions or assistance, feel free to ask in the comments. Happy coding!