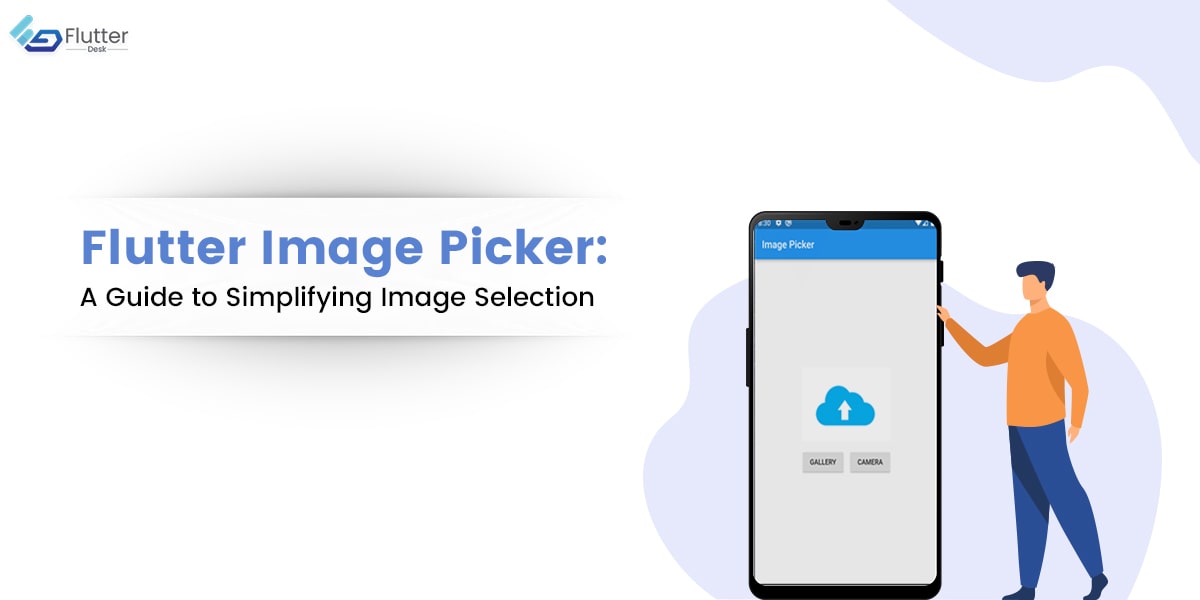
In the previous blog, we learned about Flutter Choice Chip in detail, and today we will learn about Flutter Image Picker. Image Picker in Flutter is a powerful plugin that enables Flutter developers to integrate image selection and capture functionality into their mobile applications.
With file picker flutter, developers can quickly and easily create an intuitive user interface that allows users to select images, videos, or any other file from their device’s camera roll or capture new images. This plugin offers a range of customization options and can be implemented with minimal coding effort, making it an ideal solution for developers looking to streamline the development process.
Throughout this post, we will cover the essential aspects of using Image Picker, including installation and configuration, creating an effective UI, handling selected images, best practices for optimizing performance, and troubleshooting common issues.
Whether you are a beginner or an experienced Flutter developer, this guide provides a comprehensive resource for learning how to implement image-picking functionality in your Flutter app.
What is Flutter Image Picker?
Flutter Image Picker is a popular and useful plugin that enables Flutter developers to easily incorporate image selection and capture capabilities into their mobile applications. With this plugin, you can create a user-friendly interface that allows users to choose photos and videos from their device’s gallery or take new photos with their cameras.
This plugin is designed to be simple, with a straightforward API that can be easily integrated into your existing Flutter codebase. In addition, it offers a range of customization options, enabling you to tailor the UI to suit your app’s specific needs.
Let’s dive in and explore this amazing Flutter package’s many features and capabilities.
Features and Functionalities of Image Picker Flutter
Flutter Image Picker offers a variety of features and functionalities that make it an excellent choice for mobile app development. Some of its key features include:
- Supports both Android and iOS platforms
- Provides a simple and intuitive API for implementing image-picking functionality
- Offers support for both single and multiple image selection
- Allows customization of the UI to suit the specific needs of your app
- Provides support for image compression and optimization, allowing you to control the file size of the images captured or selected
- Offers a range of customization options for the camera, including flash settings, camera orientation, and more.
How Does Image Picker in Flutter Work?
To use Image Picker in your app, you must add the plugin to your project’s dependencies, configure the plugin with your desired options, and then create the UI for the image picker. Once the user has selected an image, you can use the plugin’s built-in functions to handle it and perform any necessary actions, such as uploading the image to a server or displaying it on the screen.
Let’s walk you through the steps to use this plugin in your app. So, keep reading to learn more!
How do we use Flutter Image Picker?
Using Image Picker is a straightforward process that involves three main steps: adding the plugin to your project, configuring the plugin, and creating the UI for the image picker plugin.
Step 1: Add the plugin to your project
To use Flutter Image Picker, add it as a dependency in your project’s pubspec.yaml file. You can do this by adding the following line to the file:
dependencies:
  image_picker: ^0.8.4+2
Once you’ve added the dependency, run Flutter packages get to install the plugin.
Step 2: Configure the plugin
Next, you need to configure the plugin by setting any desired options. For example, you can set the maximum number of images the user can select, the image quality, and the source of the images (e.g., camera or gallery). Here’s an example of how to configure the plugin:
final pickedFile = await ImagePicker().getImage(
  source: ImageSource.gallery,
  maxWidth: 1920,
  maxHeight: 1200,
  imageQuality: 80,
);
In this example, we’re setting the source to the gallery and setting the maximum width and height of the image to 1920 and 1200 pixels, respectively. We’re also setting the image quality to 80%.
Step 3: Create the UI for the image picker
Finally, you need to create the UI for the image picker. When pressed, you can add a button or other user interface element to your app that triggers the image picker. Here’s an example:
ElevatedButton(
  onPressed: () async {
    final pickedFile = await ImagePicker().getImage(
      source: ImageSource.gallery,
    );
    setState(() {
      _imageFile = File(pickedFile.path);
    });
  },
  child: Text('Pick Image'),
);
In this example, we’re using an ElevatedButton widget to create a button that opens the image picker when pressed. When the user selects an image, we set the _imageFile variable to the selected file and then update the UI to display the selected image.
And that’s it! With these three simple steps, you can easily integrate Flutter Image Picker into your app and provide users with a seamless and intuitive photo selection experience.
Advanced Features of Flutter Image Picker
While this plugin provides a simple and user-friendly way to select and capture images, it also offers a range of advanced features that can help you customize the user experience and streamline your app’s workflow.
Multi-image Selection
Flutter Image Picker allows you to select multiple images at once, making it easy for users to select and upload multiple photos to your app quickly. To enable multi-image selection, set the maxImages property to the desired number of images:
final pickedFiles = await ImagePicker().getMultiImage(
  maxImages: 5,
);
In this example, we allow the user to select up to five images simultaneously.
Video Selection
In addition to photos, Flutter Image Picker allows you to select videos from the user’s camera roll or directly from the camera. To select a video, use the getVideo method:
final pickedFile = await ImagePicker().getVideo(
  source: ImageSource.gallery,
);
In this example, we’re selecting a video from the gallery. You can also set the source property to ImageSource.camera to capture video directly from the camera.
Custom Image Providers
If you need more control over how images are loaded and displayed in your app, Flutter Image Picker allows you to use custom image providers. This means you can use your own logic to load images from local or remote sources and display them in your app’s UI. Here’s an example:
final pickedFile = await ImagePicker().getImage(
  source: MyCustomImageProvider(),
);
In this example, we use a custom image provider called MyCustomImageProvider to load and display the selected image.
By leveraging these advanced features, you can create a more customized and powerful image selection experience for your users and streamline your app’s workflow.
Handling Image Compression and Optimization
Flutter Image Picker provides options for compressing and optimizing images to reduce their size without sacrificing quality. You can use the ‘compress’ and ‘maxWidth’ properties to specify the resulting image file’s compression quality and maximum width. You can also use the ‘imageQuality’ property to control the overall quality of the image.
Handling Multiple Images
Flutter Image Picker allows you to select and capture multiple images simultaneously, making it easy for users to upload several images simultaneously. You can use the ‘getMultiImage’ method to allow users to select multiple images from their gallery or camera. You can also use the ‘requestMultiple’ property to specify whether users should be allowed to select multiple images.
Examples of Flutter Image Picker
Flutter Image Picker is a versatile and powerful package in various real-world scenarios. Here are some examples of apps that use Flutter file Picker to provide a seamless and user-friendly image selection experience:
E-commerce apps
E-commerce apps often require users to upload product images when creating listings in Flutter. Flutter Image Picker can be used to allow users to easily capture or select images from their gallery and then upload them directly to the app’s server.
Social media apps
Social media apps like Instagram and Snapchat rely heavily on user-generated content, which often includes images and videos. Flutter Image Picker can be used to allow users to capture or select images to upload to their profiles or stories.
News apps
News apps often use images to accompany articles and provide visual context for the news. Image Picker Flutter can allow journalists to capture or select images to include in their articles easily.
Here are some code examples that demonstrate how to use Flutter Image Picker to capture an image from the camera:
final pickedFile = await ImagePicker().getImage(
  source: ImageSource.camera,
);
setState(() {
  _imageFile = File(pickedFile.path);
});
And here’s an example of how to use Image Picker Flutter to select multiple images from the user’s gallery:
final List<Asset> images = await MultiImagePicker.pickImages(
  maxImages: 3,
  enableCamera: true,
);
setState(() {
  _imageFiles = images;
});
Common Issues with Image Pickers and How to Fix Them
While Flutter Image Picker is a powerful package, developers may encounter some common issues. Here are a few tips for troubleshooting these issues and optimizing the performance of your app:
Permissions Issues
If your app crashes when trying to access the camera or gallery, it may be due to a permissions issue. Ensure your app has the necessary permissions to access the device’s camera and gallery. You can do this by adding the following lines to your AndroidManifest.xml file:
<uses-permission android:name="android.permission.CAMERA" />
<uses-permission android:name="android.permission.READ_EXTERNAL_STORAGE" />
<uses-permission android:name="android.permission.WRITE_EXTERNAL_STORAGE" />
And adding the following lines to your Info.plist file on iOS:
<key>NSCameraUsageDescription</key>
<string>Allow access to the camera to take photos and videos.</string>
<key>NSPhotoLibraryUsageDescription</key>
<string>Allow access to the photo library to select photos and videos.</string>
Handling Exceptions
When using Flutter Image Picker, handling exceptions properly is important to ensure that your app doesn’t crash unexpectedly. Use try-catch blocks when using the package, and handle exceptions appropriately based on the error message.
For example, if you encounter the error message “PlatformException(permission_denied, photo library access not granted, null),” you can prompt the user to grant the necessary permissions to access their photo library.
Optimizing Performance
If your app runs slowly when using Flutter Image Picker, there are a few ways to optimize its performance. One way is to use image compression and optimization to reduce the size of the images that your app is processing.
You can also use the package’s customization options to customize the UI and improve the user experience. For example, you can customize the color and size of the buttons used to capture or select images or add animations to provide feedback to the user.
Conclusion
That’s a wrap to the blog. We hope you’ve completely understood how Flutter Image Picker works, its customizations, and the issues that can come your way. Undoubtedly, it is a powerful and easy-to-use package that simplifies selecting and capturing images in your Flutter app. Its intuitive UI, customization options, and support for iOS and Android devices make it a great choice for developers looking to add image selection functionality to their app.
If you’re a Flutter developer looking to streamline the image selection process in your app, we highly recommend giving Flutter Image Picker a try. Its easy-to-use API and intuitive UI make it a great choice for both beginners and experienced developers.
Lastly, if you’re looking to hire Flutter developers, you can count on us. Our team of expert Flutter developers got the perfect expertise to transition any of your complex business ideas into real-world apps.


