Have you ever imagined designing a high-performance mobile application from a single codebase? Yes, this is the ease flutter brings you at your fingertips. All this has made Flutter a new app development trend.
Now with the endless capabilities of Flutter, the Focus node in Flutter is another helpful tool that enhances the quality of user interaction.
Let’s have a closer look at what FocusNode is in Flutter and what its significance is.
What is FocusNode in Flutter?
FocusNode is an object in Flutter that determines whether a widget is currently in ‘focus’ or not. The widget being in focus means that the widget is presently up for receiving user input. You can imagine focusNode as a spotlight on stage that highlights or focuses on the part of the application your user is currently interacting with.
A classic example of this would be a form with multiple text fields. The’ focus’ moves from one text field to another as the user taps or clicks on different areas to enter information. Behind the scenes, FocusNode is managing this interaction.
What is FocusNode Used For: FocusNode Flutter Example
Where the primary role of focusNode is to manage the widget’s focus, there are other pronounced roles too. One of the prominent uses of FocusNode is to handle keyboard events. FocusNode can control navigation through form fields, such as moving to the next field when the user presses the “Tab” key. This is achieved using the FocusScope widget, which allows you to group a collection of FocusNodes together and manage them as a unit.
In addition, FocusNode also handles focus transversal, which means you can programmatically move the focus from one widget to another while managing multiple input fields.
Other uses of focusNode in Flutter include:
- FocusNode has a listener (add-listener callback) that notifies each time the focus state changes.
- It also enhances application accessibility.
How to Use FocusNode with the TextField?
- To use the FocusNode, the first thing we need to do is to make an object of FocusNode. Here is ‘myFocusNode,’ for instance.
final myFocusNode = FocusNode();
- After creating the object of ‘FocusNode’ now, it’s time to assign it to a ‘TextField’ widget via the ‘focusNode’ parameter. In this snippet, we have instructed the ‘TextField’ widget to utilize ‘myfocusNode’ to manage its focus state.
TextField(
  focusNode: myFocusNode,
),
- We can programmatically also request focus for the ‘TextField’ with the ‘requestFocus()” method.
myFocusNode.requestFocus();
By invoking myFocusNode.requestFocus(), we’re asking the Flutter framework to shift the focus to the TextField widget associated with myFocusNode.
How to enable focus on the first TextFormField as an application starts or gets visible?
The process of enabling focuses on the TextFormField the process goes the same as stated above. But there is only one step you have to make sure to get the desired result.
To ensure the TextFormField receives focus as soon as the application starts or the widget becomes visible, you should call requestFocus inside WidgetsBinding.instance.addPostFrameCallback.
@override
void initState() {
  super.initState();
  // Request focus on the TextFormField as soon as the UI finishes building
  WidgetsBinding.instance.addPostFrameCallback((_){
    myFocusNode.requestFocus();
  });
}
What’s happening here is that as soon as Flutter finishes rendering the frame (i.e., UI), it will call our callback method, and in that, we request focus for myFocusNode.
And that’s it! With these steps, you’ve set up your application to focus on a specific TextFormField as soon as it starts.
How to Pass Focus to the Next TextFormField When the Button is Tapped?
The best way to move focus to the next text field is the focusNode.nextFocus() method. The best thing about this method is that you do not have to handle the ‘focusNodes’.
Here is the way to do it:
- Creating two instances of focusNode, one for the email field and the other one for the password field
- The border method returns a customized InputBorder object for the input field decoration. It creates a rounded border with a gray color and a width of 1.
- The inputDecoration method returns an InputDecoration object for the input fields with the provided hint text and uses the border method for the border styling.
- The initState method is overridden to perform initialization tasks when the widget’s state is created. In this case, it adds a post-frame callback using WidgetsBinding.instance.addPostFrameCallback to request focus on the email input field after the frame has been rendered.
- We Create 2 TextFormField and assign FocusNode. The first text Field uses the emailFocusNode, and Second Text Filed Uses the passwordFocusNode.
- We set textInputAction( KeyBoard Action ) to the next for the First Text Field.
- For the Second Text Field, we set textInputAction ( KeyBoard Action ) to do
- In the first TextFormField’s onFieldSubmiited method, we request the focus for the password’s TextFormField using FocusScope. FocusScope.of(context).requestFocus(passwordFocusNode);
This will automatically transfer the focus to passwordTextField when it gets executed.
import 'package:flutter/material.dart';

class HomePage extends StatefulWidget {
 const HomePage({Key? key}) : super(key: key);

 @override
 State<HomePage> createState() => _HomePageState();
}

class _HomePageState extends State<HomePage> {
 final emailFocusNode = FocusNode();
 final passwordFocusNode = FocusNode();

 InputBorder get border {
   return OutlineInputBorder(
     borderRadius: BorderRadius.circular(16),
     borderSide: const BorderSide(color: Colors.grey, width: 1),
   );
 }

 InputDecoration inputDecoration(String hint) {
   return InputDecoration(
     hintText: hint,
     border: border,
     enabledBorder: border,
     focusedBorder: border,
   );
 }

 @override
 void initState() {
   super.initState();
   WidgetsBinding.instance.addPostFrameCallback((_) {
     emailFocusNode.requestFocus();
   });
 }

 @override
 Widget build(BuildContext context) {
   return Scaffold(
     appBar: AppBar(
       centerTitle: true,
       title: const Text(
         'FocusNode in Flutter',
         style: TextStyle(color: Colors.white),
       ),
       backgroundColor: Colors.purple,
     ),
     body: Padding(
       padding: const EdgeInsets.all(8.0),
       child: Center(
         child: Column(mainAxisAlignment: MainAxisAlignment.center, children: [
           TextFormField(
             focusNode: emailFocusNode,
             decoration: inputDecoration('Email'),
             textInputAction: TextInputAction.next,
             onFieldSubmitted: (_) {
               FocusScope.of(context).requestFocus(passwordFocusNode);
             },
           ),
           const SizedBox(height: 4),
           TextFormField(
             focusNode: passwordFocusNode,
             decoration: inputDecoration('Password'),
             textInputAction: TextInputAction.done,
           ),
         ]),
       ),
     ),
   );
 }
}
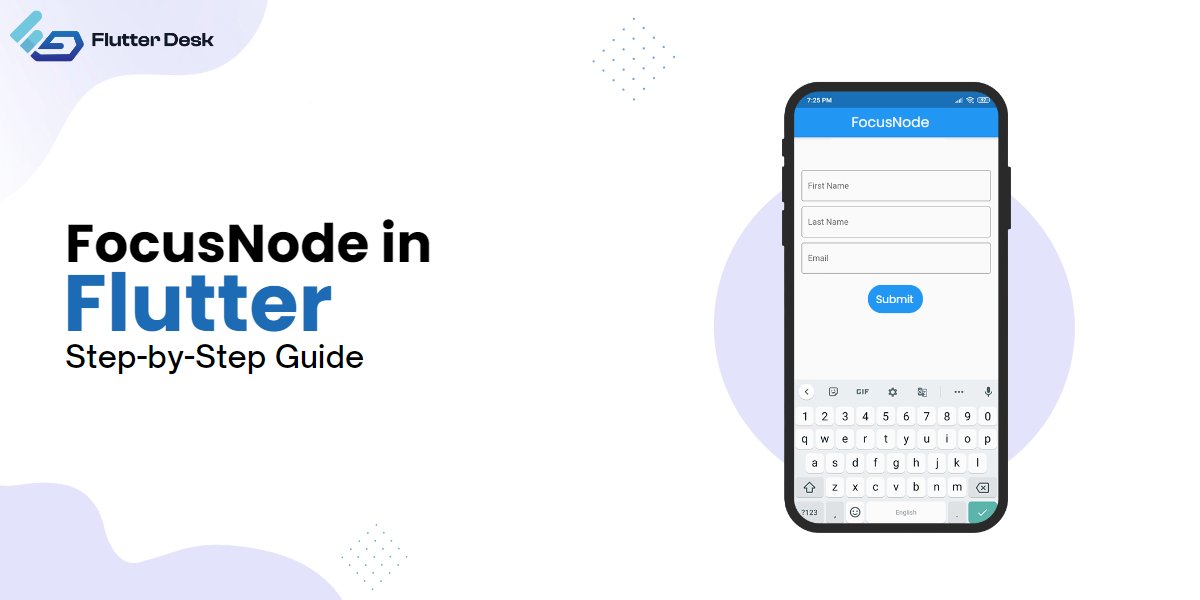
Here is a visual representation of the above-mentioned code:
Other Callbacks From TextField
There are several valuable and effective callbacks from the textField in focusNode. The following are the most common:
- On-changed
Called each time the text contained within the TextField is changed. Helpful in implementing live search, form validation, etc.
- On-submitted
Called when the user indicates they have finished with the text input. Usually triggered when the user presses the “Enter” or “Done” button on the soft keyboard.
- On-editing
Similar to onSubmitted, it is also called when the TextField loses focus.
How to Remove Focus From a Widget?
In some cases, you want to remove the focus from your widget. You can do it by using the unfocus method on the FocusNode.
// Suppose myFocusNode is associated with a widget
myFocusNode.unfocus();
When the unfocus method is called, the widget loses focus, and the on-screen keyboard (if visible) disappears.
Tips to Use FocusNode in Flutter
- Dispose of FocusNode: Remember to dispose of the FocusNode when of no use anymore. This is done by the ‘dispose method’ of your ‘state’ class. This is the way to clear up the resources that are still in use by FocusNode.
@override
void dispose() {
  myFocusNode.dispose();
  super.dispose();
}
- Unfocus to Hide Keyboard: You can call the unfocus method on a FocusNode if you need to hide the soft keyboard.
FocusScope.of(context).unfocus();
        OR
myFocusNode.unfocus();
- Use autoFocus for Initial Focus: For a more straightforward approach to focusing on a widget when the screen opens, you can set the autoFocus property of a TextField to true. But be aware that there should only be one widget with autoFocus set to true on your screen; otherwise, there might be conflicts.
- Use RequestFocus for Form Navigation: When you’re building forms with multiple TextFormField widgets, use FocusScope.of(context).requestFocus(<focus-node-object-of next-TextFormField>) to quickly navigate to the following field when the user presses the “Enter” or “Next” button on the keyboard.
Conclusion
Flutter’s FocusNode provides a powerful and flexible way to control and respond to widget focus changes within your applications. Whether creating intuitive navigation in forms, managing keyboard visibility, or implementing custom behaviors based on focus, FocusNode is an essential tool. However, remember to handle its lifecycle correctly, and don’t shy away from leveraging alternatives like the Focus widget for more straightforward scenarios. As with many elements of Flutter, understanding and effectively using FocusNode can enhance your user interface and provide a superior user experience. Happy coding!