Skip to content
From food and finance to entertainment, everything is done with mobile apps, and there is a flood of apps out there. Their users are growing every day and there will be around 7.41 mobile app users by the year 2024. For a better user experience, mobile app testing is crucial and its importance is increasing day by day.
We have compiled a complete guide for you, explore it in detail to get the best results.
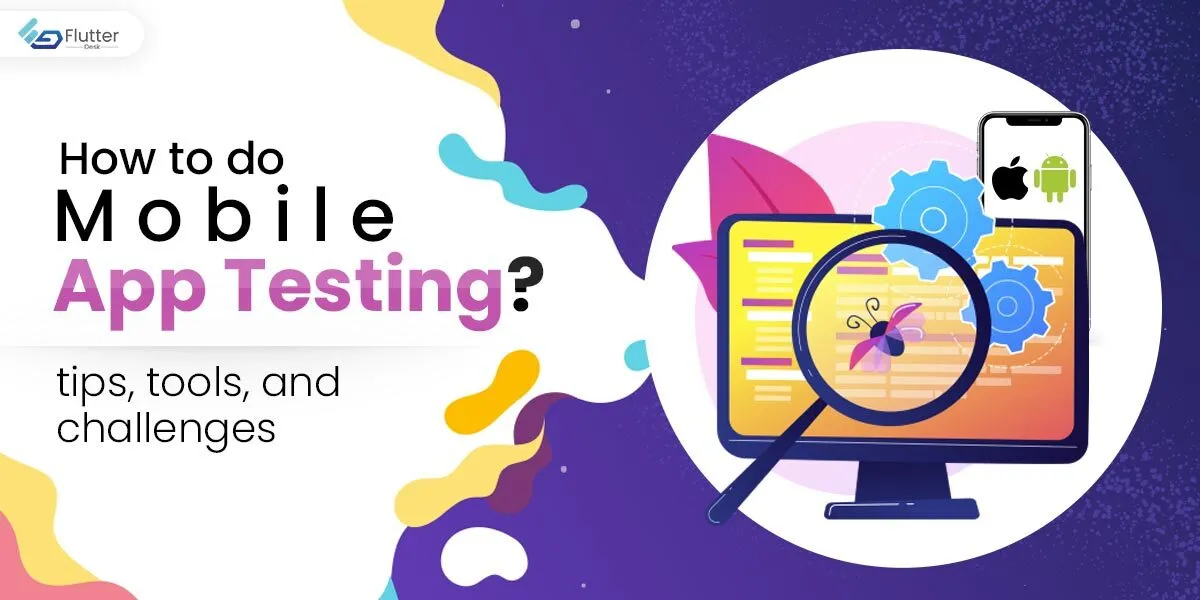
What is Mobile App Testing Process?
Mobile app testing is a process of checking any mobile application for its proper functionality, usability, compatibility, and performance. The testing process has a broad range of evaluation techniques to make sure the app meets user requirements and business expectations.
To make sure your app performs perfectly, it is tested for:
- Appearance on different screen orientations (Landscape or Portrait) and screen resolution.
- Performance and compatibility on different operating systems and their versions (like Android’s 7.0 or 8.0 version).
- Compatibility with different mobile sensors like Accelerometer, Gyroscope, GPS, etc.
- The functionality of the application’s GUI (graphic user interface) like buttons, menus, navigation, etc.
- Evaluation of source code to check for any bugs or errors.
- Usability, if the application has all the required features that a user needs.
Mobile App Vulnerability Testing – Why is it Important?
As the heading indicates, the whole purpose of mobile testing is to work on the vulnerability of applications and avoid poor reviews. App’s lousy functionality and crashes can also be avoided. Additionally, you get the following benefits:
- The entire development cycle involves several UX/UI tests, which will give you clarity about the user’s overall experience.
- You can check your application’s performance under different performance requirements like changing networks, load conditions, etc.
- The end product is a user-friendly application that will get you loyal customers and a reputable position in the industry.
Different Types of Mobile Apps
There are different types of mobile applications and you need to be clear about which one you are going to test. The three major categories are:
Native Applications: developed and built using specified SDKs for a specific platform and its operating system – could be Android, Windows, iOS, etc. They have reliable performance and a faster user experience. Their maintenance, however, can be costly. They have a solo platform affinity but can run offline.
Web Applications: a web version of an application that runs on different browsers like Firefox, Chrome, etc. They have a cross-platform affinity and don’t need any installation but a wireless internet connection is a must.
Hybrid Applications: a twinning of web apps and native apps with native APIs. They take comparatively less time to develop and have a low budget. In terms of performance, however, their speed isn’t as good as native apps.
Stages of Mobile App Testing Process
To ensure detailed mobile app testing, there are different stages you have to go through.
Stage 1 – Documentation Testing:
This is the initial non-functional phase of your mobile app testing, done before the development starts. It helps with the estimation of testing coverage, effort, resource tracking, etc. The testers are handed out navigational charts and screen layouts, and other pictorial or written information to report on the application’s procedures, functions, and results. Whatever inconsistency you find in this documentation will ultimately impact the development.
Common documented artifacts include:
- Test Plan.
- Test Requirements (PRD, Specification).
- Test Cases
- Traceability Matrices
Stage 2 – Functional Testing:
As the name shows, functional testing is to see if your app is performing the tasks to intend for it to perform. It is where the completeness of your defined requirements gets checked. The testing works on the overall accessibility and usability of the app and makes it error-free. Included with this, are a few necessary factors given below:
- Specified (business) functionality of your application, it is for social networking, delivery services, academic services, and so on.
- The targeted or intended users of the application.
- The distribution channels you will make use of, like App Store, Google Play, etc.
Stage 3 – Usability Testing:
Here, you will work to ensure convenience for your user and make it easy to use. Three criteria involved in usability testing are:
- Effectiveness
- Efficiency
- Satisfaction
Here we have provided a useful checklist for quality testing:
- Synchronization of application components with user’s actions.
- Response to pressing the wrong button and the speed of response.
- The application can resume in the same state as it was terminated.
- Connect menus should not be stuffed.
- Improve readability for the user by specifying the font size and keeping the sentences short and clear the icons performing the same function should be of the same color. Optimize the size of buttons too.
- A native look of app icons and images.
- Check if the multitasking mode and navigation settings work properly.
Stage 4 – User Interface (UI) Testing:
First impressions do leave an impact. A user interface is where the user interacts directly with the app so it should be structurally intuitive and visually appealing. Here is a brief checklist to work on:
- Display on landscape and portrait orientation.
- No overlapping of advertisements with control buttons. Provide an accessible closing button for the ad.
- Application response on various devices.
- A correct display of main design elements – icons, labels, captions, lists, links, text boxes, etc.
- Last but not least, agreement with the standards of UI.
Stage 5 – Compatibility Testing:
Compatibility testing checks the application’s optimal performance on different devices. Here you will be working on:
- Device configuration (device type, processor type, RAM, battery capacity, screen resolution, etc.)
- Cross-platform testing with various operating systems (OS).
- Cross-browser testing.
- Network compatibility testing.
- Database configuration (Oracle, MySql, Sybase, etc.)
Each configuration must be handled in a step-by-step process.
Stage 6 – Performance Testing:
At this point in mobile app testing, you have to check how your application behaves and performs with different workloads. It involves:
Load Testing – application’s response time to different requests to see if it fulfills the normal user load requirements.
Stability Testing – application’s operability for long hours of usage.
Stress Testing – focused on the application’s working capacity.
Volume Testing – application’s behavior to an expanded volume of data. Can the application cope with the planned volume of load?
Concurrency Testing – checks how the application performs with multiple users and what the limit is.
Stage 7 – Security Testing:
Security and privacy of users’ data is our priority. To ensure protection, we analyze different security risks and get rid of any chances of viruses, unauthorized access, hackers, etc. The following are the measures included in this testing:
- Protection against any DoS or other malicious attacks.
- Secure the user’s login, password, or bank account details from any network attacks.
- Without proper authentication, the application should not give access to sensitive information or functionality.
- Examine any possible malicious actions or consequences of cookies and file caching.
- Identify the program’s vulnerability when the system is running.
Stage 8 – Recovery Testing:
A crashing or freezing application gets the user frustrated, which is why recovery testing is a crucial step. Here you will be testing your app’s ability to recover from any potential hardware or software failures and working on:
- Effective and quick recovery after a random crash.
- Data recovery after connection delay or break.
- Recovery after a transaction failure.
- Recovery of processing any transaction if the application shuts down due to any power failure.
Stage 9 – Localization Testing:
Here you test your application’s adaptability to different locations. Check the following features of your software for the specified locations:
- Supported languages and correct translations.
- Date and time.
- Currency format.
- Verify the delimiters in numbers.
- Make sure to take the help of a locale for a better user experience.
Stage 10 – Confirmation and Regression Testing:
Now that you have identified any possible bugs from the above-mentioned steps, fix them successfully. Run them again to confirm you pass without any bugs. Verify the changes.
Stage 11 – Beta Testing:
Before the final release of your product in the market, check the beta version of your application for any problems. Beta testers should be people who have already worked with similar types of apps. You can consider this an additional stage for mobile app testing, but it is important.
Stage 12 – Certification Testing:
Congratulations! Your program is now ready to be certified by the stores like Google Play or the App store. Your application should comply with the terms of use and licensing requirements. This compliance is achieved through certification testing.
What’s different about web testing?
Mobile apps and web apps are built differently. Users’ interaction and experience with web apps are also different. Mobile applications are more complex and built for different platforms and OS versions, as a result, their testing is vigorous.
Web testing aims to deliver a smooth user experience on different browsers. The main goal is to ensure that the application can be accessed across desired platforms with an active internet network.
Device Selection – Mobile App Testing on Real Devices
Testing on a real device is the best option for mobile app testing. It will provide you with highly accurate results. For device selection, you can use the following points:
- Pick devices with different OS and screen resolutions.
- Focus on the device’s connectivity, compatibility, and memory size.
- Check and analyze the most used device in the market.
You might be thinking about what benefit could there be to using a real device for mobile app testing and not a virtual one. With real device testing, you get:
- To test your application in real conditions and environment.
- A highly accurate result with no false positives.
- Factors like battery drainage, built-in sensors, geolocation, push notifications, etc can be tested easily.
- Bug replication is simple.
However, there are some limitations to this as well:
- Restricted access to foreign devices.
- Additional cost for maintenance.
Using an Emulator or Simulator
Today, mobile app testing is usually done through emulators or simulators which simulate the behavior and function of a mobile device. While an emulator is an actual replacement of a device, a simulator builds an analogous environment like your mob’s OS but does not use it for debugging. A simulator is a preferred option for app testing as it provides the following advantages:
- Easy setup.
- Inexpensive.
- Works fast.
- Helps you explore your mobile application’s behavior.
Compared to the usage of a real device, a simulator/emulator has the following cons:
- Mobile hardware will not be imitated.
- There is a possibility of false positives.
- Results have incomplete data.
Cloud-based Testing
An optimal option for you is cloud-based testing. It is easily available, has high scalability, and the apps can also be managed and updated in the cloud, in addition to testing. For testing, you will require a stable internet connection.
Automated Testing and Manual Testing
When our goal is to test first impressions and functionality, manual testing takes the spotlight. But when it comes to testing with high accuracy, speed, and reliability, automated testing should be your preference. We shall explore the advantages of both one by one.
Manual testing is quite flexible and is the best option for:
- Testing a new functionality of the app.
- Usability testing.
- Ad-hoc testing.
- UI interactions.
- Device compatibility.
Automated testing is faster, and is the best option for:
- Repetitive testing.
- Performance testing.
- Regression testing.
- Easily sharable results.
Mobile App Testing – Which challenges you will be facing?
You might face some of the following challenges during mobile app testing. We have also compiled some solutions with you.
Device Fragmentation
Your mobile application will be running on different devices, operating systems, and screens. You cannot possibly test all of them, which poses a challenge. To overcome this, you can use the following solutions:
- Make use of simulators or emulators.
- If budget is not a problem, you can build an in-house lab with a range of devices.
- A reliable and cost-efficient option for this challenge will be to use a cloud-hosted device.
Browser Fragmentation
If you intend to run your app on the web as well, then you have to test it on different browsers. For convenience, you can pick out the browsers most used by your target audience (Chrome and Firefox are the most common).
App security at risk
It is becoming more and more difficult to secure users’ data which is why you have to go with thorough security testing to hash out any loophole. The data must stay encrypted and secure from any malicious activity.
Poor Performance
A compromised performance becomes a problem for the user. So before launch, make sure that your app works in all conditions and test its load capacity again and again.
Battery and Storage Issues
Test and reduce the battery consumption of different functions of your application.
If your user has low storage devices, then testing your application’s behavior can be challenging. For that, it is advisable to use a test automation tool or go with cloud-based testing. You can also take help of our team at Flutterdesk to avoid these challenges.
Some Useful Tips you can Use
Learn about the application you are testing, is it a mobile app or a desktop app?
- Check out the hardware and software specifics of the devices on which the app will be tested.
- Your preference should be real devices for testing or cloud testing, but do not neglect virtual testing entirely.
- Keep a balance between manual and automation testing.
There are also some tips and tricks to boost up the Mobile app development process
Tools for Mob App Testing
Before we list some tools for you, remember that it is always better to use the tools that one is already familiar with, instead of trying to learn the new popular ones.
With that being said, here are different tools you can use for mobile app testing:
For performance testing, use Neoload, New Relic, and Apteligent.
Security testing, use Google Nogotofail, OWASP Zed Attack Proxy, SQL Map, and Retina CS Community.
Functionality testing, use Salendroid, Apium, Ranorex, and Robotium.
Compatibility testing, use Browsera, BrowserStack, Litmus, CrossBrowserTesting, Ghostlab, and Rational ClearCase.
Mobile app interface testing, use LoadUI, Coded UI, FitNesse, iMacros, and Jubula.
Usability testing, use Reflector, Loop, and User Zoo.
Conclusion
This was it for exploring how to do mobile app testing for different platforms. We hope you’d have got a better idea, after reading this blog, of how mobile app testing work. If you still have any confusion, queries, or suggestions, feel free to comment below. Hire flutter developers from flutterdesk if you need any flutter development services