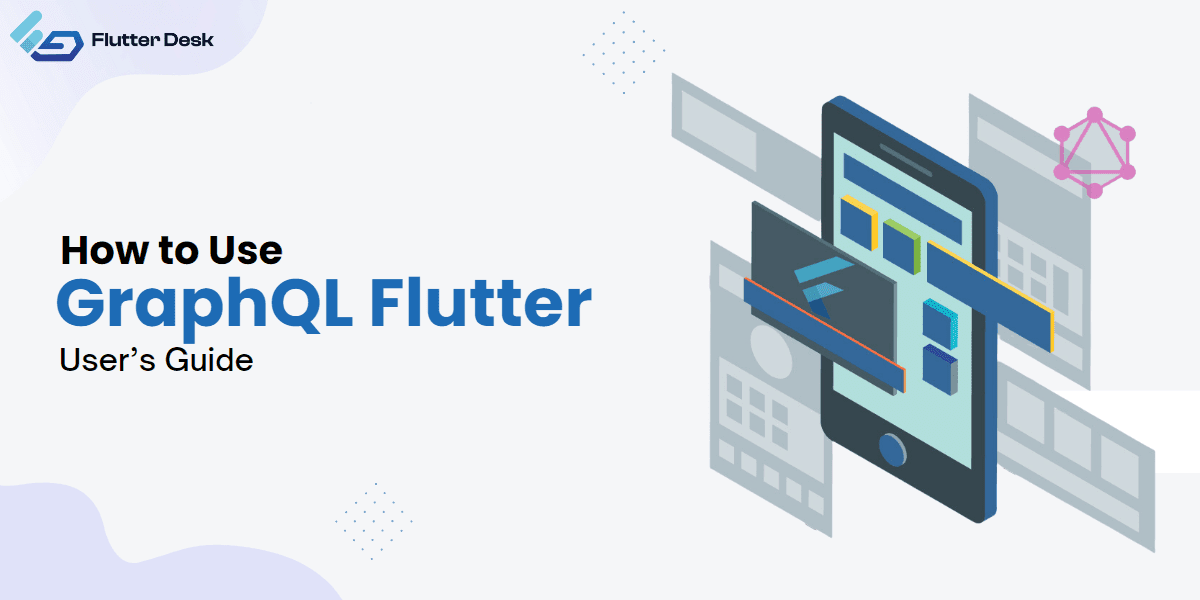
Have you ever used a translator while you are on a foreign trip, and you want to make your communication with foreigners manageable and more comprehensible?
This is what GraphQl Flutter does in the virtual world. It is a translator that assists the communication between the server and the application.
Both Flutter and graphQL work hand in hand to build data-intensive applications with much ease. In combination, Flutter GraphQL provides a personalized experience to create versatile apps with multiple decorative features.
Let’s begin with the intro of GraphQL Flutter in a bit of detail. Don’t worry; we won’t lose your interest.
What is GraphQL?
GraphQL is a product of Meta that made its first public appearance in 2015 and has been revolutionizing how data is served from the backend. It is a query language that enables you to structure your data in whatever state you want.
Applications made with GraphQL Flutter are easier to handle since it enables the applications to control the data instead of the server. It allows your app to ask the server for precisely what it wants and nothing more. This makes data loading more efficient.
With GraphQL, you can get multiple resources with a single request. With GraphQL queries, you can access the properties between multiple resources by following references.
Setting Up Your GraphQL Endpoint
To use GraphQL Flutter, the first step is setting up the endpoints. To do this, you have to follow the following steps:
- The first step is to identify what is the source of your data. Check whether it is coming from a database or any other storage system.
- The next step is creating a schema, a data blueprint. The data schema determines the structure and link between the component of the data and its related queries.
- The next and relevant step is the setting up of the GraphQL server. This server is an intermediary to translate the graphQL request and data instructions.
- Now define resolvers. Resolvers are functions that tell the server how to fetch the data identified in the schema.
- Next, plugin the server with a data source to initiate data fetching.
- Finally, you can start testing your endpoint once everything is set up. You can send query requests to your GraphQL server and check if you receive the expected data back.
Implementing graphql_flutter
Install GraphQL Package: The first and prime step to use the graphql_flutter package in the Flutter app is to add the graphql_flutter to your project. You can mention the graphql_flutter package and its version in the ‘pubspec.yaml’ file. Then run the ‘flutter pub get’ command at the terminal to download the graphql_flutter package.
dependencies:
  graphql_flutter: ^5.1.2
- Creating a GraphQL client: The next step is setting up the GraphQL client. This client tackles all the GraphQL queries and mutations sent to the server.
- Defining queries and mutation: Defining the queries (to fetch data) and mutations (to change data) per your data’s requirement is essential.
GraphQL Mutation and Queries
Queries
Like a GET request in REST, “Queries” are used to fetch or read data from the server. When you specify the data you require to the server, it only returns that information—nothing else.
For example, if you have a music app, you could use a query to get information about a song’s name and artist.
Mutations
When you want to alter data on your server, such as by creating, updating, or deleting data, you use “mutations.” You can think of POST, PUT, or DELETE requests in REST as equivalents. The server hears exactly what you want it to do, just like with queries, and executes your request.
The server processes GraphQL queries and mutations, which are strings. This string specifies what data to fetch or change.
CRUD Operations with GraphQL Flutter
In GraphQL Flutter, CRUD operations use queries and mutations. GraphQL facilitates CRUD operations by utilizing various tools to send the queries and mutations to the GraphQL server.
- Create: You would add or create new data with a mutation. This instructs the server to create a new entry in the database using the details you provide.
static const String _insertTodo = '''
mutation(\$title: String!, \$completed: Boolean!) {
 createTodo(input: { title: \$title, completed: \$completed }) {
   id
   title
   completed
 }
}
''';

Future<TodosModel> addTodo({required TodosModel todosModel}) async {
 final result = await _client.mutate(
   MutationOptions(
     document: gql(_insertTodo),
     variables: todosModel.toJson(),
   ),
 );
 if (result.hasException) {
   if (result.exception!.graphqlErrors.isEmpty) {
     throw 'Internet Connection Issue';
   } else {
     throw result.exception!.graphqlErrors.first.message.toString();
   }
 }
 return TodosModel.fromJson(result.data?['createTodo'] ?? {});
}
- Read: GraphQL uses Query to read the data.Queries allow you to specify the fields and relationships you are interested in, and the server responds with the requested data in the exact shape defined in the query.
static const String _getTodos = '''
 query {
   todos {
     data {
       id
       title
       completed
     }
   }
 }''';

Future<List<TodosModel>> getTodos() async {
 final response = await _client.query(
   QueryOptions(document: gql(_getTodos)),
 );
 return response.data!['todos']['data']
     .map<TodosModel>((e) => TodosModel.fromJson(e))
     .toList();
}
- Update: You use a mutation to alter or update data. The server receives instructions regarding the data you wish to modify and the new values that should be used.
static const String _updateTodo = '''
 mutation(\$id: ID!, \$title: String!, \$completed: Boolean!) {
   updateTodo(id: \$id, input: { title: \$title, completed: \$completed }) {
     id
     title
     completed
   }
 }
 ''';

Future<TodosModel> updateTodo({required TodosModel todosModel}) async {
 final result = await _client.mutate(
   MutationOptions(
     document: gql(_updateTodo),
     variables: todosModel.toJson(),
   ),
 );
 if (result.hasException) {
   if (result.exception!.graphqlErrors.isEmpty) {
     throw 'Internet Connection Issue';
   } else {
     throw result.exception!.graphqlErrors.first.message.toString();
   }
 }
 return TodosModel.fromJson(result.data?['updateTodo'] ?? {});
}
- Delete: A mutation can also be used to remove information. If you want to remove some information from the server, specify it.static const String _deleteTodo = ”’
 mutation (\$id: ID!) {
   deleteTodo(id: \$id)
 }
 ''';

Future<bool> deleteTodo({required String id}) async {
 final result = await _client.mutate(
   MutationOptions(
     document: gql(_deleteTodo),
     variables: {'id': id},
   ),
 );
 if (result.hasException) {
   if (result.exception!.graphqlErrors.isEmpty) {
     throw 'Internet Connection Issue';
   } else {
     throw result.exception!.graphqlErrors.first.message.toString();
   }
 }
 return result.data?['deleteTodo'] ?? false;
}
GraphQL Flutter Subscription
A subscription in GraphQL allows the server to notify the client whenever a particular event occurs. Contrast this with things like queries or mutations. With a GraphQL subscription, your Flutter app can get new data as it becomes available. Live chat, instantaneous data updates, notifications, and similar features can all benefit significantly from this.
Add your subscription to your app with GraphQL Flutter. This requires a subscription-listening widget.
The server updates your subscription widget automatically. These updates can trigger UI updates or notifications in your widget.
GraphQl Vs. SQL Vs. NoSQL
| Feature | GraphQL Flutter | SQL | NoSQL |
| Type of Data Structure | Flexible, hierarchical data structure | Tabular, relationally organized data | Various types including document, key-value, column, graph |
| Data Format | JSON-like syntax | Specific SQL syntax (e.g., SELECT, INSERT, UPDATE, DELETE) | Varies based on type (e.g., JSON for document-based NoSQL) |
| Query Language | GraphQL | SQL | Varies (for example, MongoDB uses BSON) |
| Flexibility | High: Client defines what data they need | Medium: Structure defined in SQL schema, changes often require migration | High: Document-based NoSQL databases are schema-less |
| Relationships | Capable of maintaining complex relationships between objects | Built on the concept of relations and joins | Relationship handling is inefficient, more suitable for non-relational or isolated data |
| Scaling | Depends on the underlying database | Vertical scaling (adding more powerful hardware) | Mostly Horizontal scaling (adding more machines) |
| Complexity of data | Can deal with complex, nested, and interrelated data | Works best with structured, flat data | Can handle structured, semi-structured, and unstructured data |
| Efficiency | High: Minimizes over-fetching and under-fetching data | Medium: May require multiple queries and join operations | High: Can directly fetch required data if the data model is designed well |
Advantages of Using GraphQL with Flutter
Integrating GraphQL in Flutter offers a myriad of advantages, out of which the most common are:
- Flutter’s GraphQL subscriptions allow real-time updates. This could be beneficial for Chat, live updates, and much more.
- GraphQL schemas are strongly typed. This reduces runtime errors and makes code more predictable.
- GraphQL allows a single request to return multiple results from different resources, simplifying data retrieval.
- Clients can request exactly what they need using GraphQL, reducing network data. Handling large amounts of data or slow network connections can boost Flutter app performance.
Conclusion
GraphQL’s precision, real-time updates, and developer tools make it a powerful choice for Flutter applications. The project’s complexity and needs determine its usefulness. Some will appreciate its robustness, while others may find it unnecessary. Therefore, when choosing GraphQL with Flutter, consider your use case.